our approach aimed at maximizing productivity & efficiency.
Managing Director
Equipped for Precision
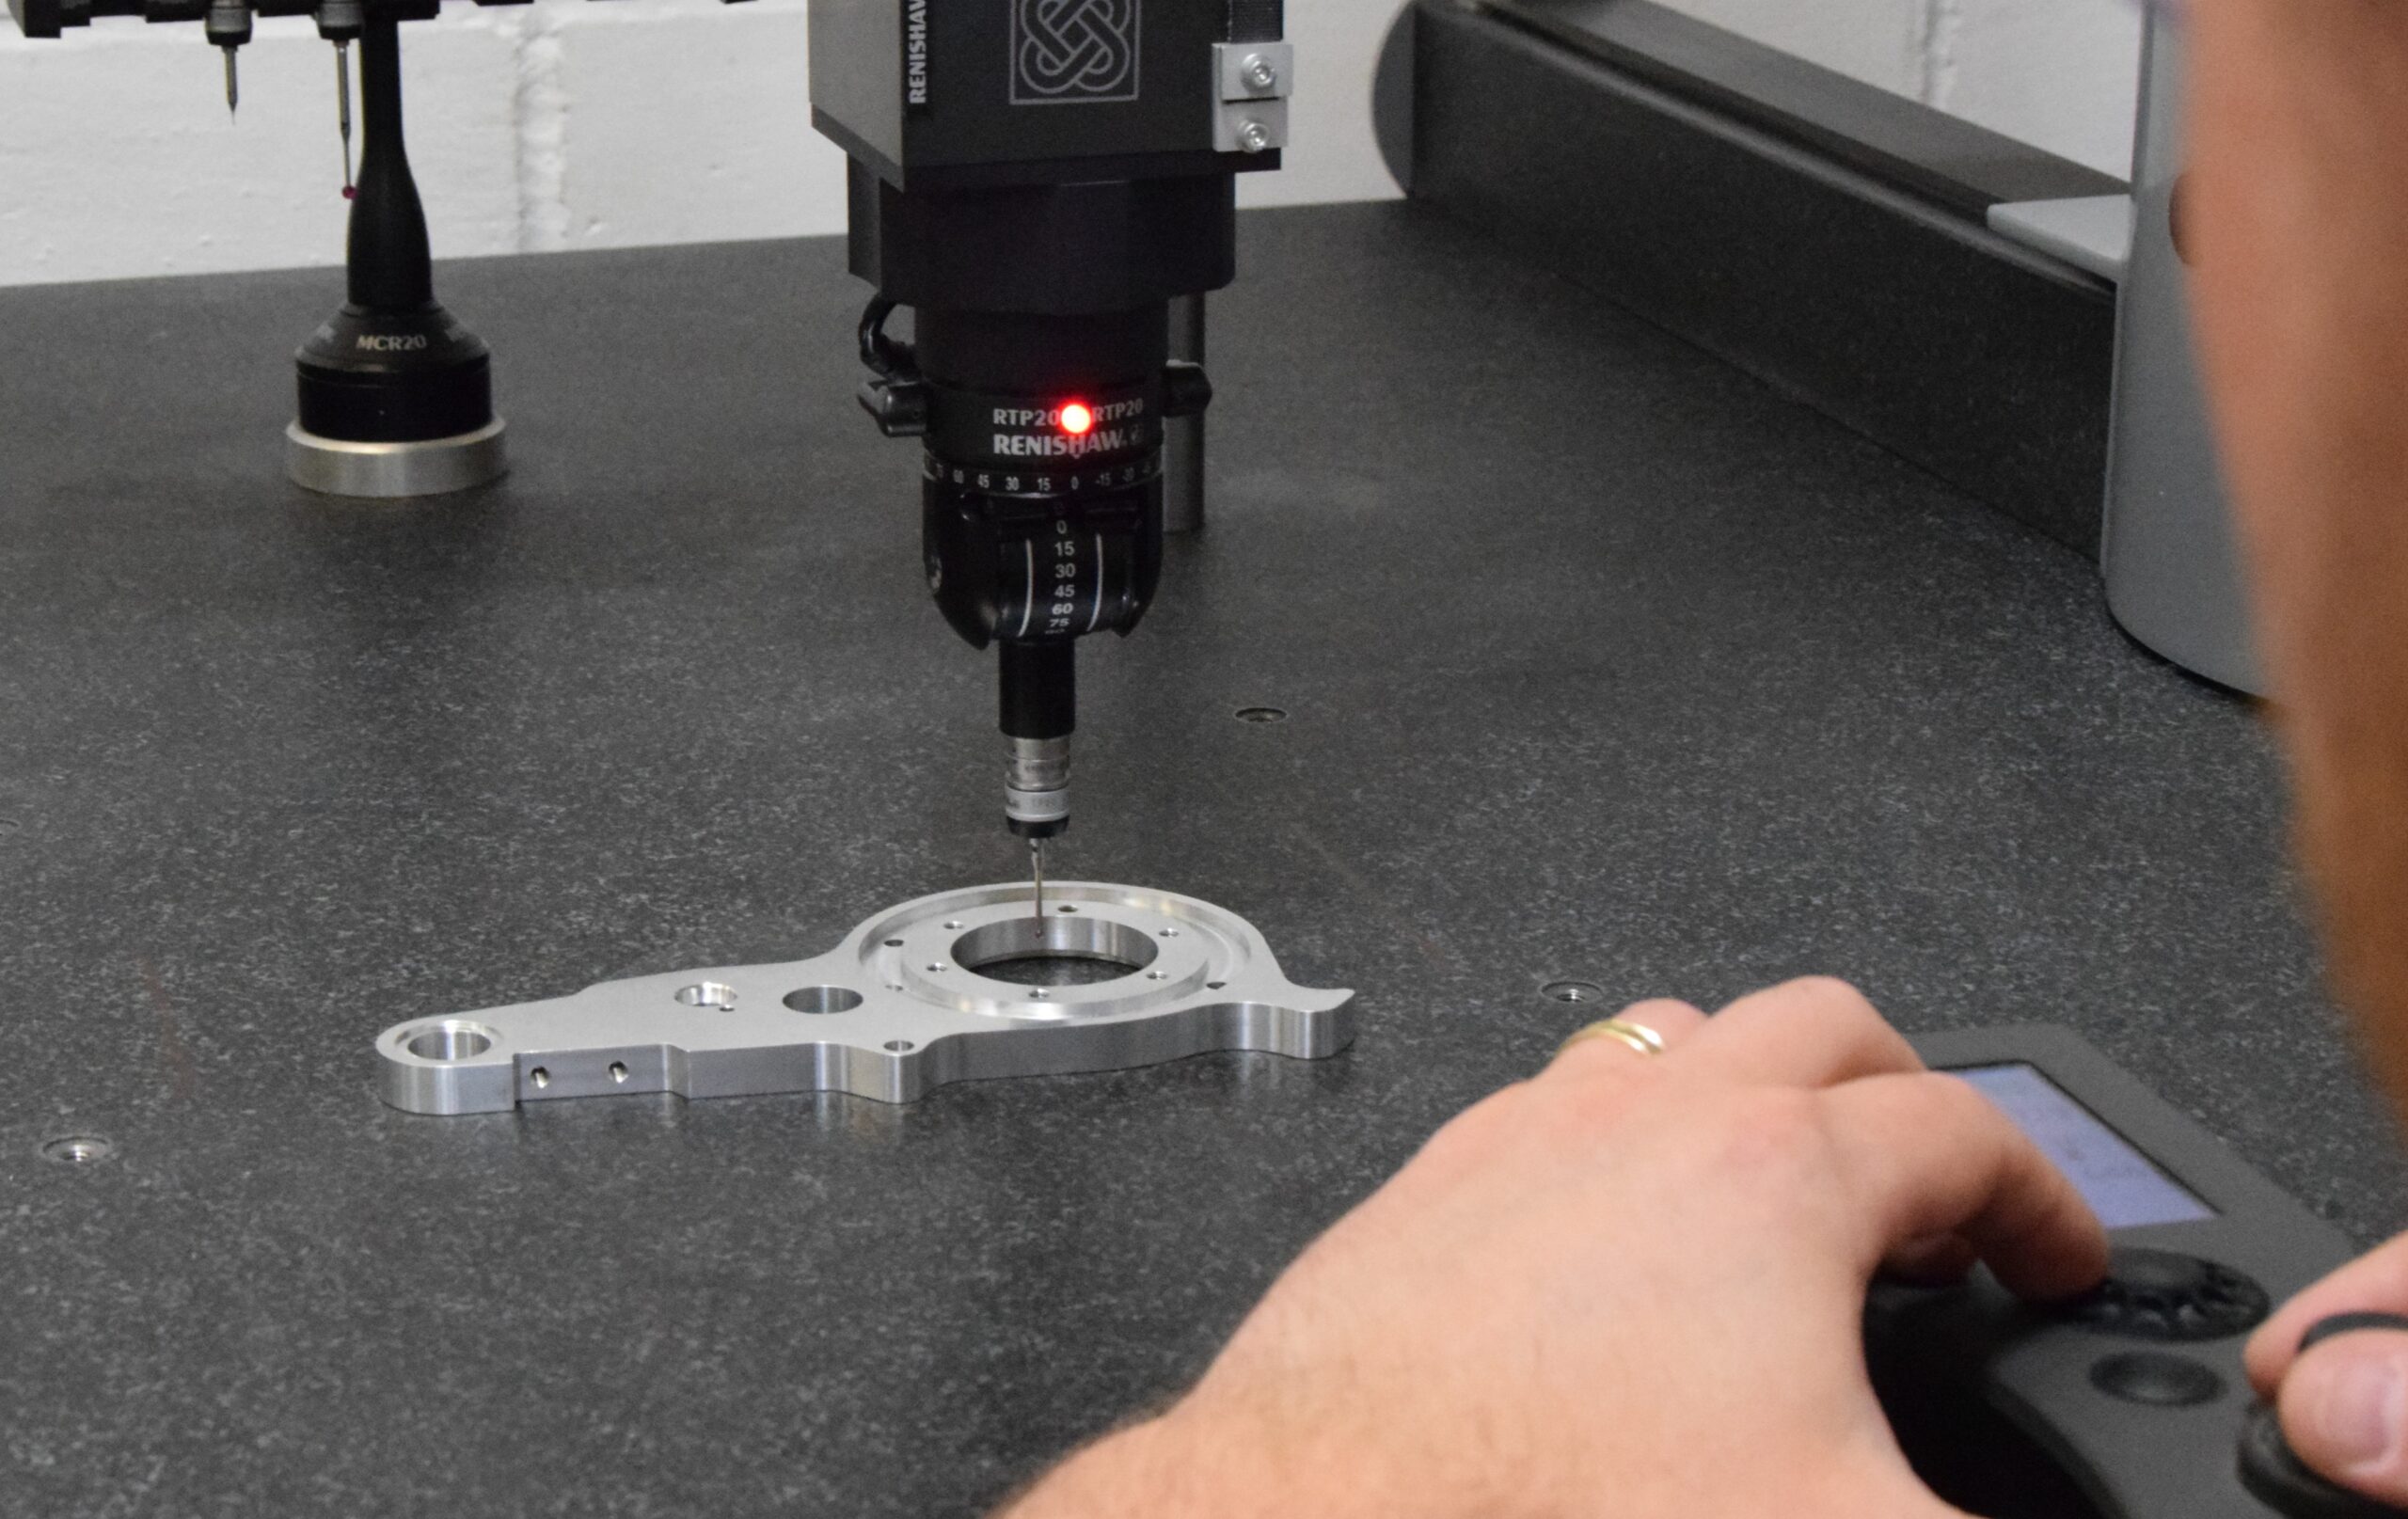
At Kristek Precision, inspection is more than a final check — it’s a core part of our process control. Our inspection team is equipped with a full suite of calibrated tools to verify both standard and tight-tolerance features, including:
All equipment is registered and regularly calibrated to ensure measurement confidence.
Process-Led Inspection Coverage
Our inspection process is defined by risk, complexity, and customer requirements. We typically:
- Inspect critical features, process-specific features, and customer-defined tolerances
- Perform 100% inspection on NPI (New Product Introduction) parts
- Use Route Cards to record who inspected what, on which machine, using which equipment — including verification
First-Offs are approved by our Quality Department or trained, competent personnel with appropriate sign-off authority.
Reporting & Traceability
We provide inspection documentation that meets the needs of production-grade buyers, including:
- AS9102 First Article Inspection Reports (FAIRs) where required
- Stamped Route Cards tracking inspection activity and accountability
- Customer-specific forms or formats (on request)
All inspection data is retained in line with our 10+ year digital record policy, forming part of our overall traceability system.
Tolerances & Capability
While general tolerances are typically ±0.15mm, we frequently machine and inspect parts to:
- ±0.015mm, ±0.01mm, and down to ±0.005mm where required
- Geometric tolerances and feature callouts per customer drawings
Whether the job involves production runs or NPI parts with tight dimensional control, our inspection processes are built to verify compliance with confidence — every time.
Inspection related FAQ’s
Yes – every order is contract reviewed. This process is used to identified changes, or high-risk activities (e.g. short delivery date).
Actions from the Contract Review are assigned to an owner, to make sure the action is completed, de-risking the contracts and increasing communication and visibility of the risks.
Yes – by default all orders receive a C of C, included. However, we can also provide full First Article Inspection (FAI) reports and dimensional inspection reports, if required. All inspections are carried out in-house using calibrated CMM and precision tools. For FAI we use the AS9102 standard but can use customer specific reports too.
Yes – nearly all the equipment is calibrated externally (either sent away, or calibrated onsite). This is to ensure that the gauges and equipment we are using to verify your machined parts, are safe to use.
All inspection equipment have unique serial numbers, and are fully traceable from cradle to grave.
Yes. Kristek Precision is fully AS9100 Certified, which means our quality management system meets the aerospace and defence industry’s standards. We follow rigorous inspection and documentation protocols on every job.
You can view our certification here.
